Making cold brew at home is dirt simple. No fancy coffee machines or expensive brewing gear is needed!
Using a simple kitchen essential like a mason jar, you can easily make your very own homemade cold brew – the best refreshment to beat the heat and give you a jolt of caffeine to power you through your workday all year round without the acid.
What are you waiting for? Get a couple of mason jars. Get your favorite coffee beans and make a big batch of cold brew to have coffee ready to go every morning! Here’s how!
Disclaimer: Hi! this post may contain affiliate links which will take you to online retailers that sell products and services. If you click on one and buy something, I may earn a commission, see my Affiliate Disclosure for more details.

How Can You Make Cold Brew with a Mason Jar?
If you want a jolt of caffeine, but in a less acidic way, look no further than cold brew. It may not be the quickest brewing method, but brewing coffee using room temperature instead of boiling hot water is the way to get a tasty, smooth cup of coffee without all the acid.
And the process of making cold brew at home is made easier because you don’t need any fancy cold brewer. Just using mason jars is perfect.
What Is the Best Ratio for Mason Jar Cold Brew Coffee?
The classic way of making cold brew concentrate that you can dilute with water or milk after steeping is a 1:5 coffee grounds to water ratio.
But cold brewing is an incredibly versatile style. You can even go as low as 1:2 grounds to water ratio for a batch brew.
Overview of the ratio & size of the mason jar for cold brew:
Mason Jar Size | Coffee | Water |
8 ounces (236 millilitres) | 1 ounce (28 grams) | 5 ounces (142 grams) |
12 ounces (354 millilitres) | 2 ounces (57 grams) | 10 ounces (283 grams) |
16 ounces (473 millilitres) | 2.5 ounces (70 grams) | 12.5 ounces (354 grams) |
24 ounces (709 millilitres) | 3 ounces (85 grams) | 15 ounces (425 grams) |
32 ounces (946 millilitres) | 5 ounces (142 grams) | 25 ounces (709 grams) |
Mason Jar Cold Brew Coffee: Step-by-Step Instructions
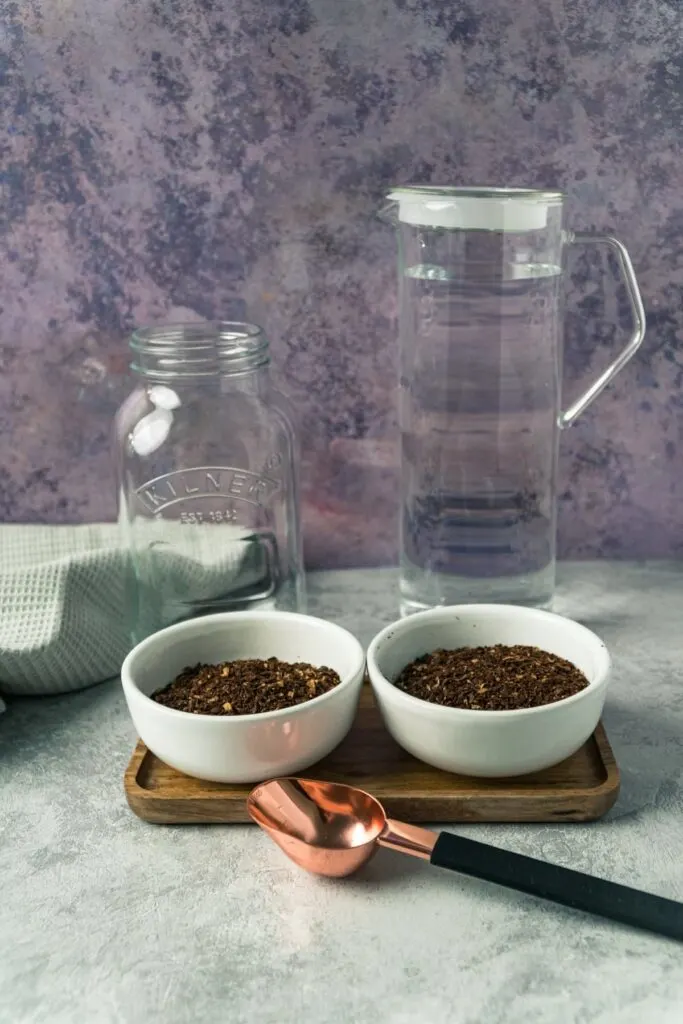
This is by far the easiest (and also the cheapest) method to make delicious cold brew coffee at home using only materials you should already have in your kitchen.
What do you need?
Ingredients:
- Using the table above choose mason jar size and measure out coffee and water ratios
Coffee Gear:
- Mason jar (make sure it doesn’t smell funny, which is often the case when jars have been sealed shut for long periods to avoid the funky smell affecting your coffee)
- Coffee grinder, ideally a burr grinder
- Kitchen scale (recommended to measure your beans and water accurately)
- Mesh strainer, sieve, and coffee filter
- Spoon, stirrer
Ready to get started?
Step 1: Grind the Coffee Beans
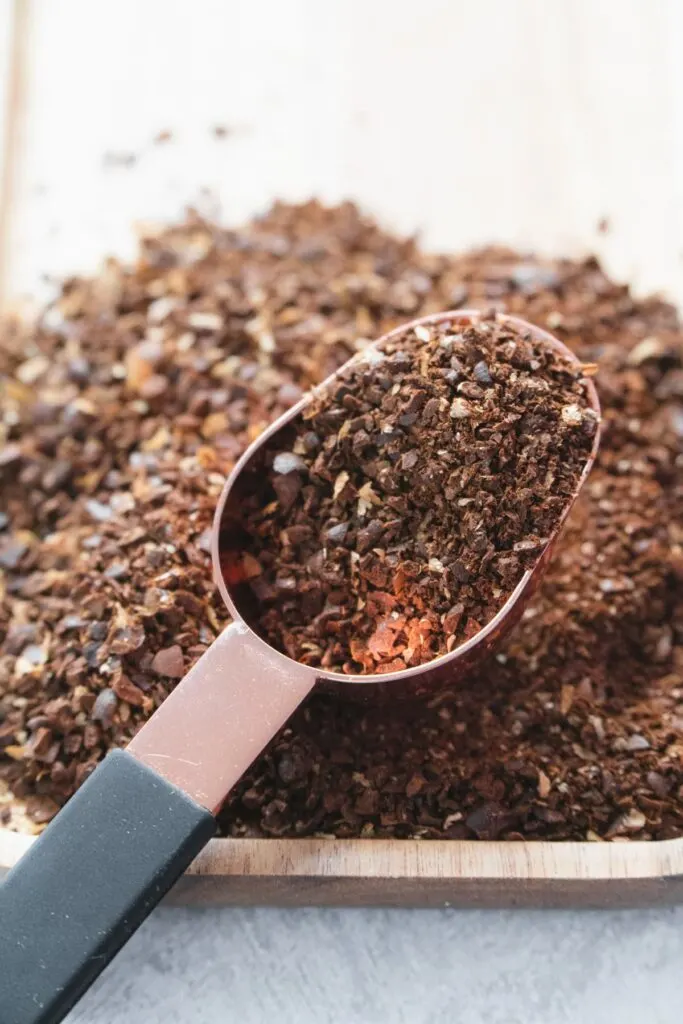
Begin by measuring and grinding your coffee beans. A coarse grind is always preferable in cold brew, no matter the brewing style. You don’t want to use any fine grounds for this, or you’ll end up with an over-extracted, harsh, and bitter cold brew. Fine grounds will also be harder to filter out.
Grinding coffee fresh is super important for any brewing style to get the coffee beans’ most freshness in flavor and aroma. A good burr grinder can help you get a consistent grind every time.
However, if you have a few weeks old grounds, that’s fine too. Cold-brew is an extremely forgiving brewing method, and your coffee should still taste great.
Step 2: Add the Grounds and Half the Water
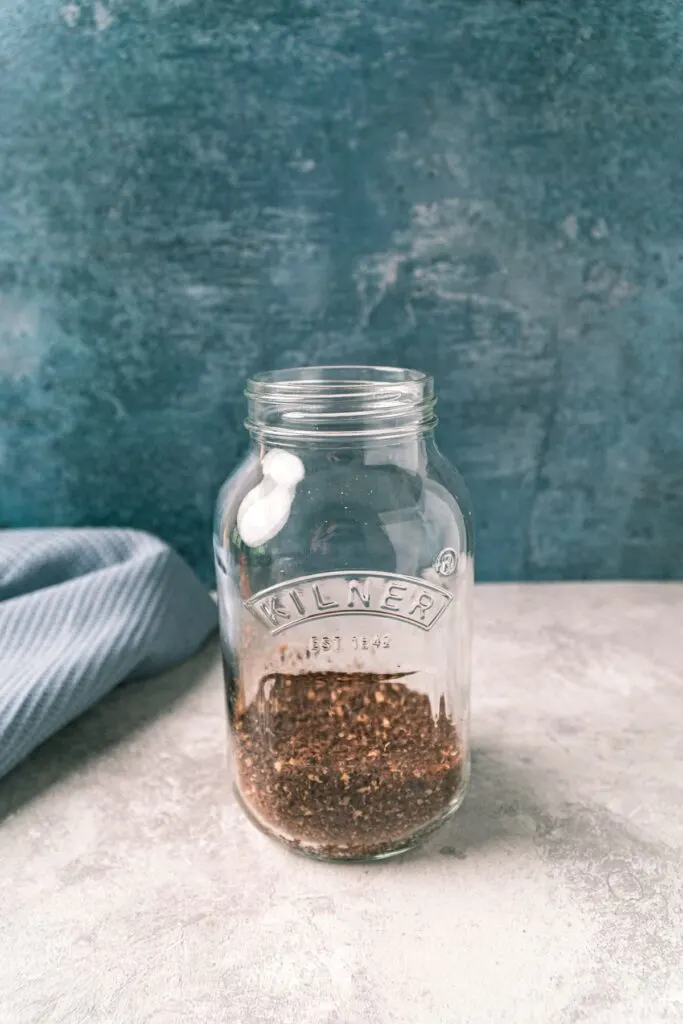
Add your coffee grounds into the mason jar, then add half of the water into it. You can either use room temperature water or cold water. The beans should be down at the bottom of the jar, but using your spoon, give it a good, gentle stir to ensure that all coffee grounds are wet.
Pro tip: always use filtered water when making coffee.
Step 3: Add the Rest of the Water In
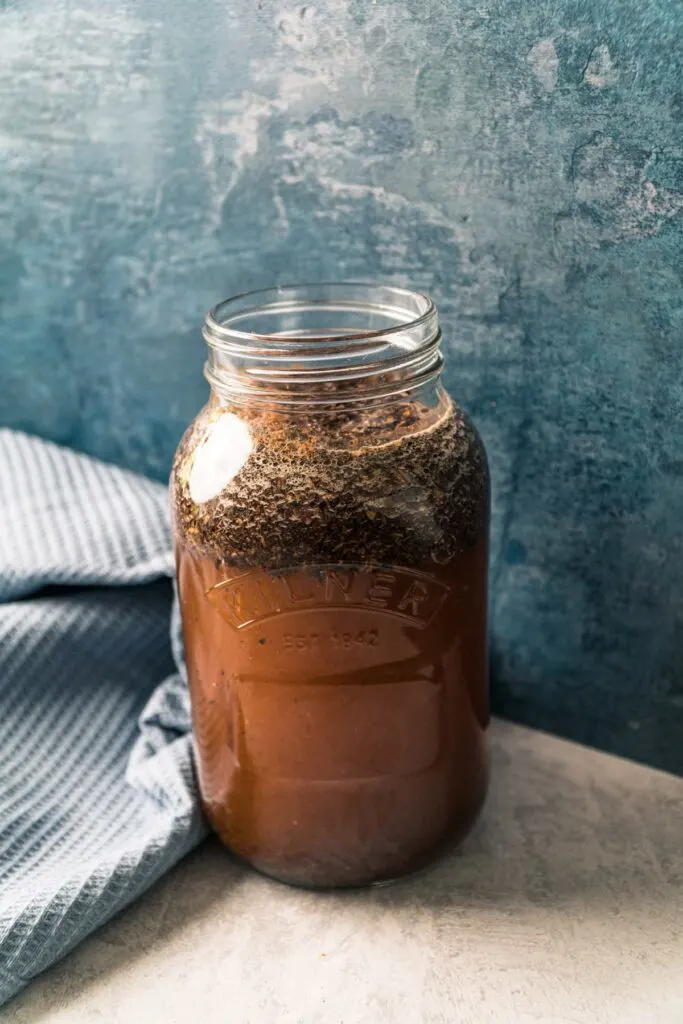
Add the rest of the water and give the mixture another good stir. And don’t forget to pul the lid on the mason jar in place. If your mason jar doesn’t have a lid, use a cheesecloth to cover the mouth of the jar, then secure it using a rubber band.
Step 4: Steep
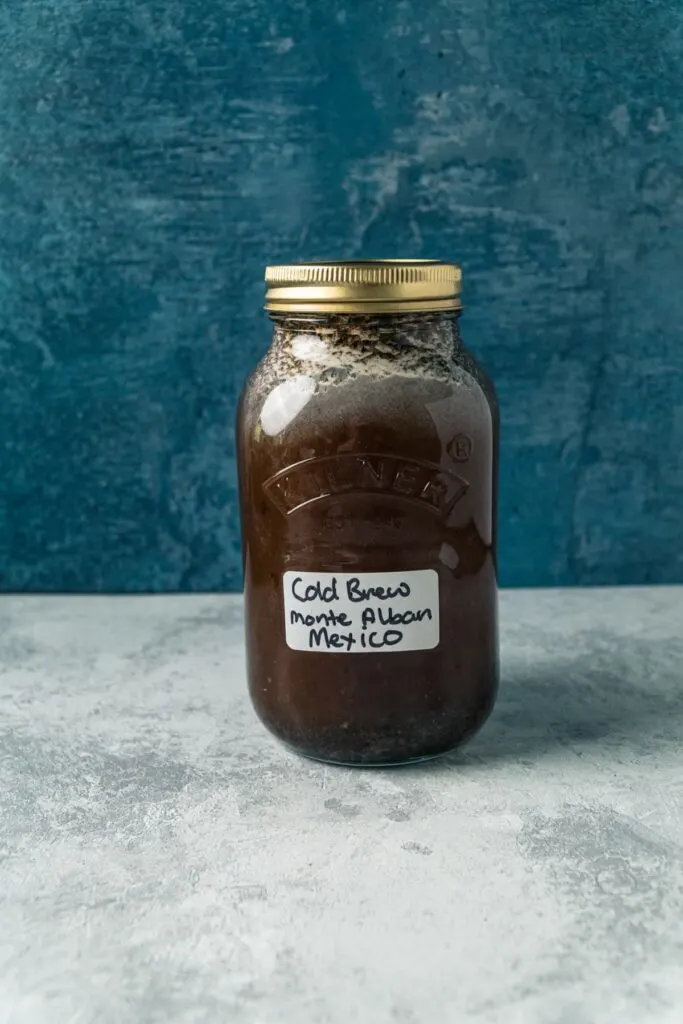
Now is the most boring part of making cold brew using a mason jar at home. Set aside the mason jar and allow it to steep for at least overnight. Some people do place cold brew in the fridge to steep but you will need a longer steeping time if you do this as it slows down the process.
One important note in this step – the longer the steeping time, the deeper the flavors will develop. That could either test your patience or encourage you to overdo it with the steeping time, which you shouldn’t.
Ideally, you want to give it at least 12 hours of steeping time but no more than 24 hours. Over-extracted coffee is not good coffee! You only run the risk of having a very bitter cold brew.
Step 5: Strain
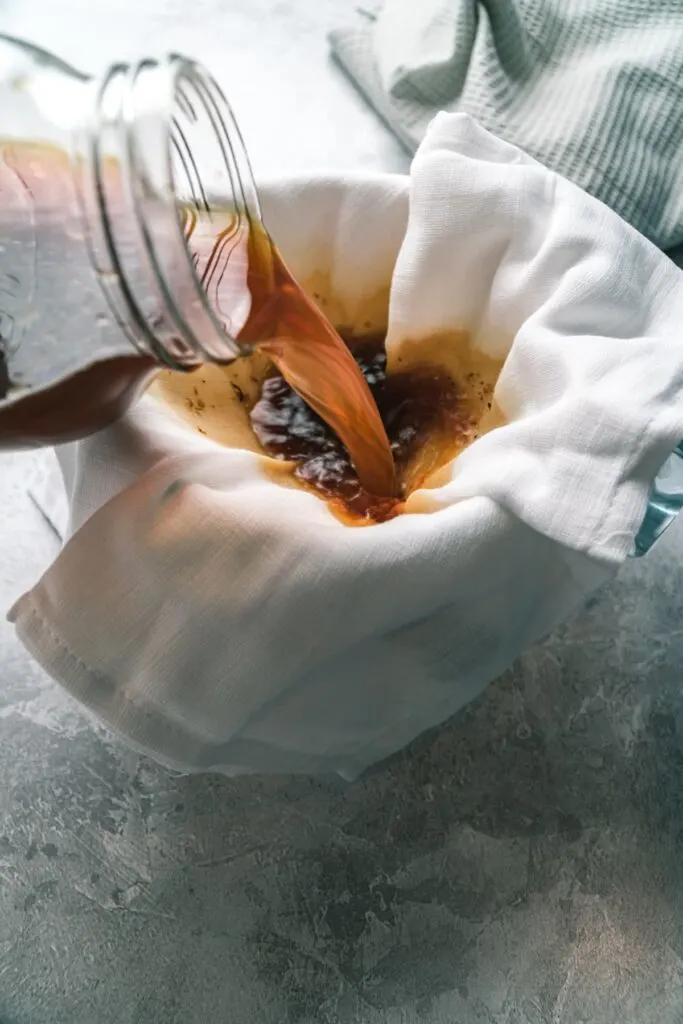
Once the waiting time is over, get your cheesecloth strainer and place it over a clean, empty container. Then take your mason jar out and empty it over the strainer. Throw the coffee grounds away, and your cold brew is almost ready.
If you want, you can strain it another time or use a coffee filter to take out any fines that could still be clouding your cold brew concentrate. Make sure you washed your paper filter before using it, or your cold brew may end up with a papery taste.
Once the cold brew is strained, pour it back into a clean mason jar.
Step 6: Serving Cold Brew Concentrate
Now, your cold brew is ready to serve and enjoy!
As it’s concentrated coffee you need to dilute the coffee before drinking to get the best cold brew taste. Start with a 1:1 cold brew concentrate to cold water ratio and adjust per your taste.
For 8 ounce (236 millilitres) glass
- 4 ounces (118 millilitres) of Cold Brew Concentrate
- 4 ounces (118 millilitres) of water or plant-based milk (you can adjust these ratios so 50/50 water and milk as an example)
- Serve in an 8-ounce (236 millilitres) glass with ice.
- Enjoy!
Once ready, you can add a few ice cubes and start sipping!
Step 7: Store or Get Creative
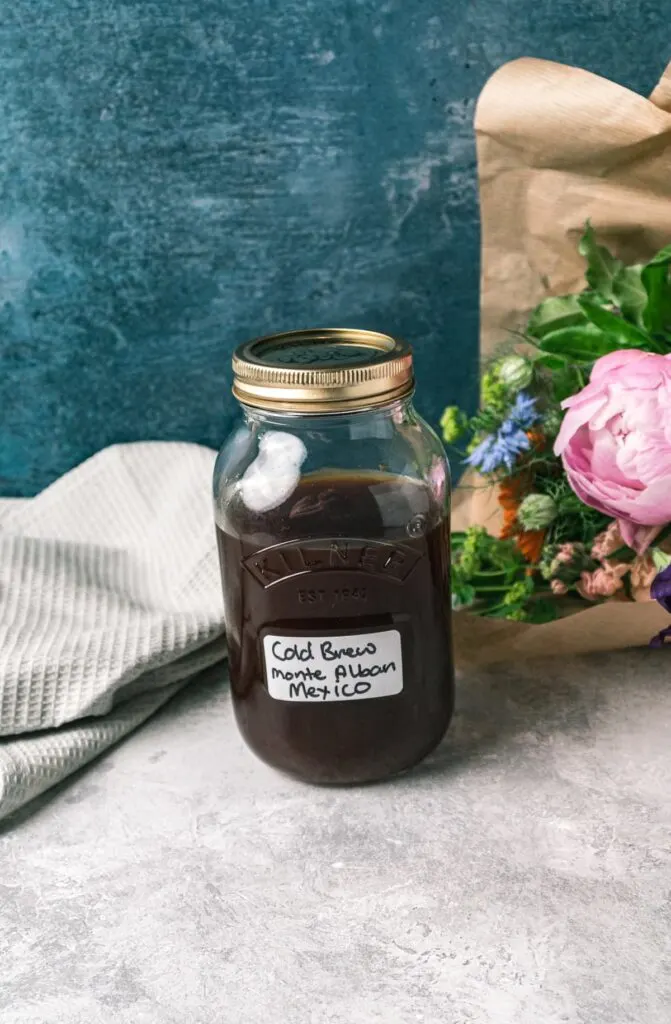
If you have a leftover cold brew (undiluted), you can store it in the refrigerator inside a clean, airtight container. That will make your cold brew lasts up to two weeks! Or freeze it into ice cubes.
Now, if you want to get creative with your cold brew coffee, try adding a little oat milk or drizzle some caramel syrup to make a thirst-quenching iced coffee drink perfect for the hot weather.
How Long to Steep Cold Brew in Mason Jar?
You can’t go wrong with using the standard coffee to water ratio of 1:5 and having your mason jar cold brew coffee steep anywhere between 12 to 24 hours, although 18 hours is a sweet spot for many old brew lovers.
Keep in mind that the longer the coffee steeps, the richer and stronger the flavor will become. Although you can basically steep your cold brew in the mason jar for however long you want, over-steeping will give you a very bitter, over-extracted coffee.
If it’s your first time making cold brew, I suggest making two batches. Prepare them exactly the same but let one jar steep for 12 hours and the other for 24 hours. Taste and choose which one suits your tastes better.
What Is the Best Way to Filter/Strain the Cold Brew?
There are different ways to filter cold brew. Some of the most common cold brew filters include:
- Cloth (cheesecloth)
- Metal mesh
- Paper filter
You can use either a cloth or metal filter or filter the cold brew twice using either cloth or metal and a paper filter. That is usually the best option.
Another option is to buy a mason jar with a filter already included, like the Cold Brew Mason Jar Iced Coffee Maker from County Line Kitchen.
Other Ways to Make Cold Brew Coffee
Cold brew is very simple to make using different brewing styles.
French Press
Make cold brew using a French press, but the secret is to switch to 1:7 grounds to water ratio for a higher-strength, intense-flavored cold brew coffee.
Cold Brew Device
Cold brew devices have built-in strainers/filters, making it more convenient to make cold brew at home. Just add coffee and water, steep, and pour.
And there you have it! Even with some basic kitchen essentials like mason jars, you can make a refreshing, flavorful cup of coffee.
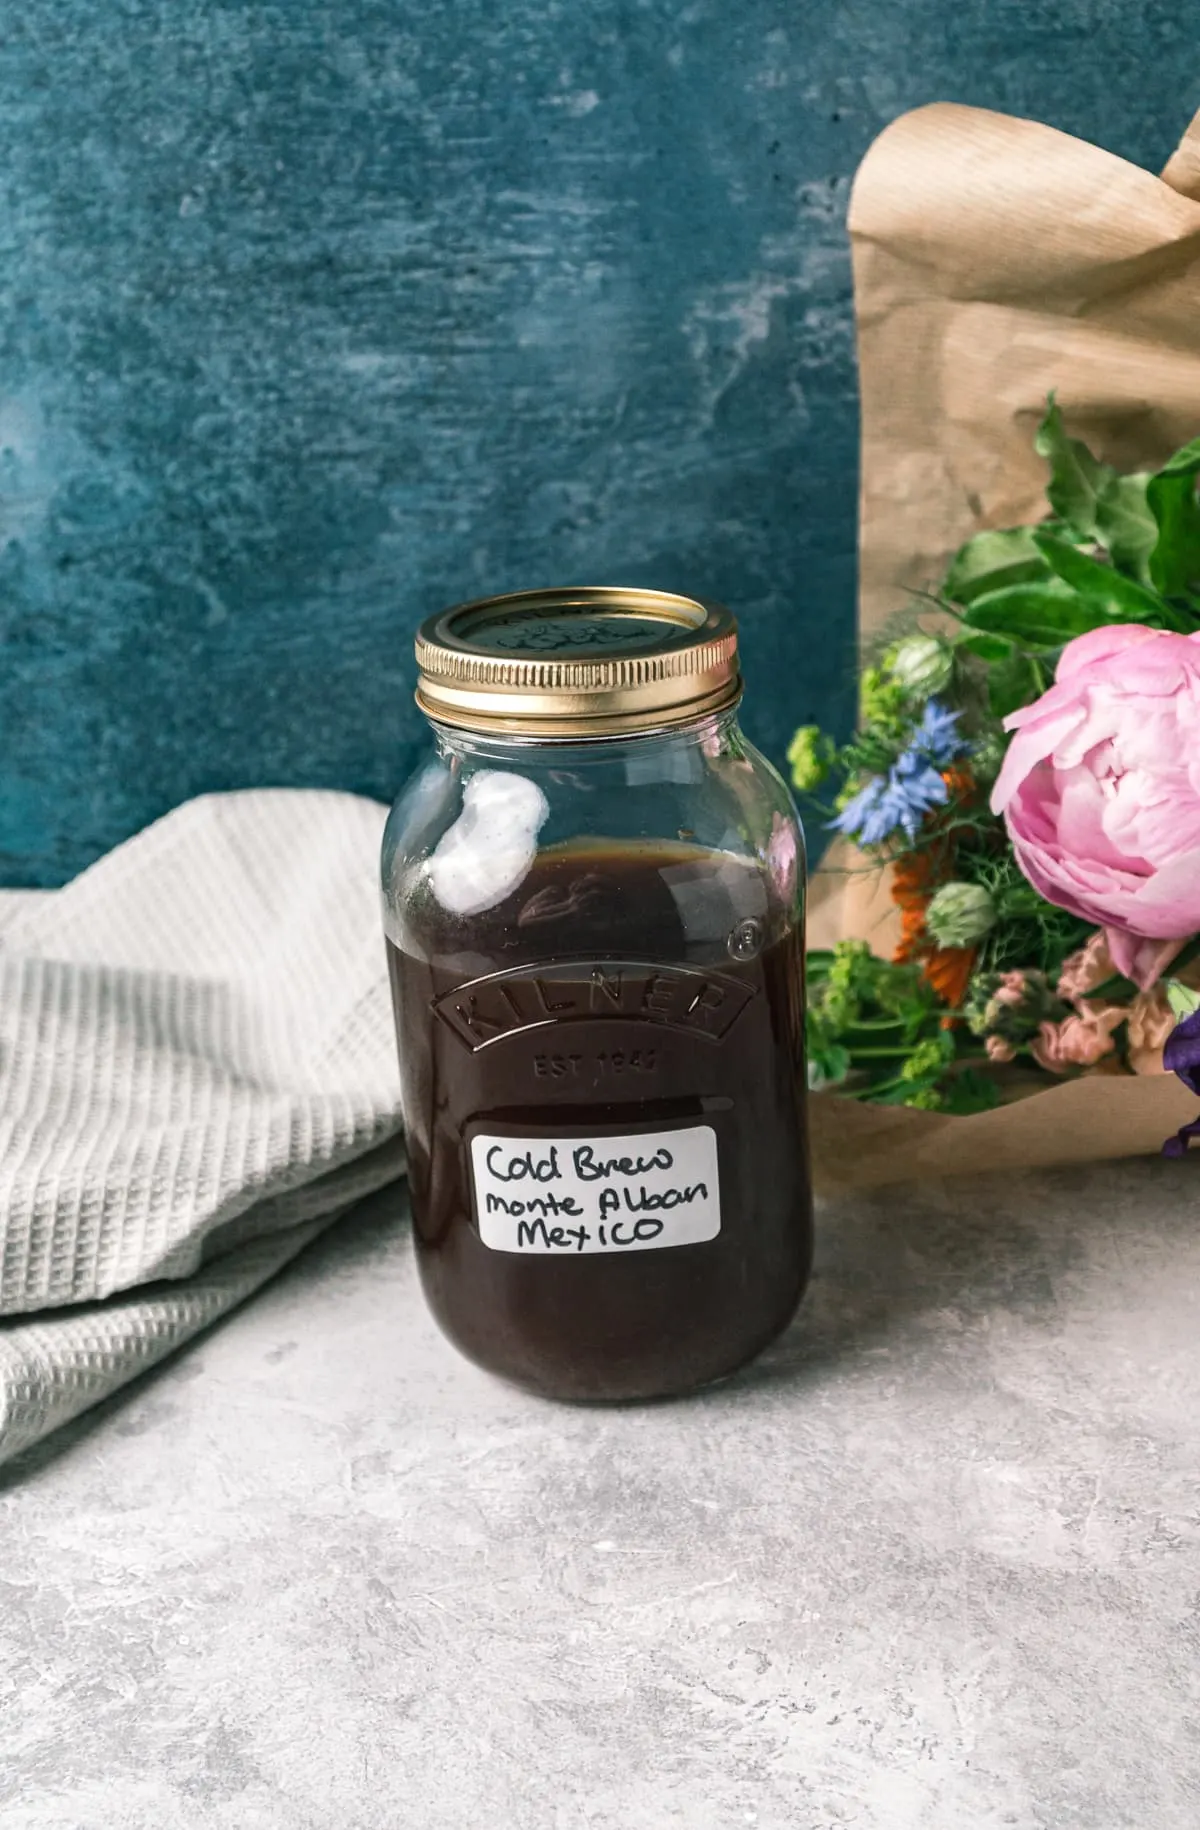
DIY Mason Jar Cold Brew
Using a simple kitchen essential like a mason jar, you can easily make your very own homemade cold brew - the best refreshment to beat the heat and give you a jolt of caffeine to power you through your workday all year round without the acid.
Ingredients
16 ounces (473 millilitres) Mason Jar Cold Brew Coffee
- 2.5 ounces (70 grams) Coarse Ground Coffee
- 12.5 ounces (354 grams) Water
Coffee Gear
- Mason jar - ensure it's cleaned
- Coffee grinder, ideally a burr grinder
- Kitchen scale
- Cheesecloth
- Spoon, stirrer
Instructions
- Grind coffee beans - A coarse grind is always preferable in cold brew, no matter the brewing style.
- Add your coffee grounds into the mason jar, then add half of the water into it. Using a spoon, give it a good, gentle stir to ensure that all coffee grounds are wet.
- Add the rest of the water and give the mixture another good stir.
- Screw lid on the mason jar.
- Set aside the mason jar and allow it to steep for at least 12 hours.
- Get your cheesecloth strainer and place it over a clean, empty container. Then take your mason jar out and empty it over the strainer. Throw the coffee grounds away, and your cold brew is almost ready.
- Clean the mason jar so you can store the cold brew back in it.
- Pour your strained coffee back into the mason jar and store it until you wish to drink it.
Serving Cold Brew Concentrate
As it's concentrated coffee you need to dilute the coffee before drinking to get the best cold brew taste. Start with a 1:1 cold brew concentrate to cold water ratio and adjust per your taste.
For 8 ounce (236 millilitres) glass
- 4 ounces (118 millilitres) of Cold Brew Concentrate
- 4 ounces (118 millilitres) of water or plant-based milk (you can adjust these ratios so 50/50 water and milk as an example)
- Serve in an 8-ounce (236 millilitres) glass with ice.
- Enjoy!
Nutrition Information:
Yield: 4 Serving Size: 1Amount Per Serving: Calories: 1Total Fat: 0gSaturated Fat: 0gTrans Fat: 0gUnsaturated Fat: 0gCholesterol: 0mgSodium: 3mgCarbohydrates: 0gFiber: 0gSugar: 0gProtein: 0g
I am not a doctor or a dietician. The information I have presented and written within this site is intended for informational purposes only.
