
If you’re a fan of manual coffee-making gadgetry, then you’ve got to try the Clever Dripper. Aimed at coffee enthusiasts who enjoy a hands-on coffee-making experience, this Japanese innovation combines pour-over and immersion technology. So, how does it work? How do you use a Clever Dripper?
To use a Clever Dripper, follow these steps:
- Boil water.
- Weigh and grind your coffee.
- Position the filter in the Clever Dripper and moisten.
- Add the coffee and water.
- Allow the coffee to steep.
- Stir to break up the crust.
- Allow the coffee to draw down.
- Enjoy your freshly brewed coffee.
Cone-shaped coffee drippers and the manual coffee brewing process are experiencing a surge in popularity, and the Clever Dripper is one of the handiest to use. Inexpensive to buy and simple to set up and operate, the Clever Dripper produces a tasty, well-balanced cup of coffee. The process of using a Clever Dripper is so straightforward that this may become your morning go-to for a quality brew.
Disclaimer: Hi! this post may contain affiliate links which will take you to online retailers that sell products and services. If you click on one and buy something, I may earn a commission, see my Affiliate Disclosure for more details.
What is a Clever Dripper?

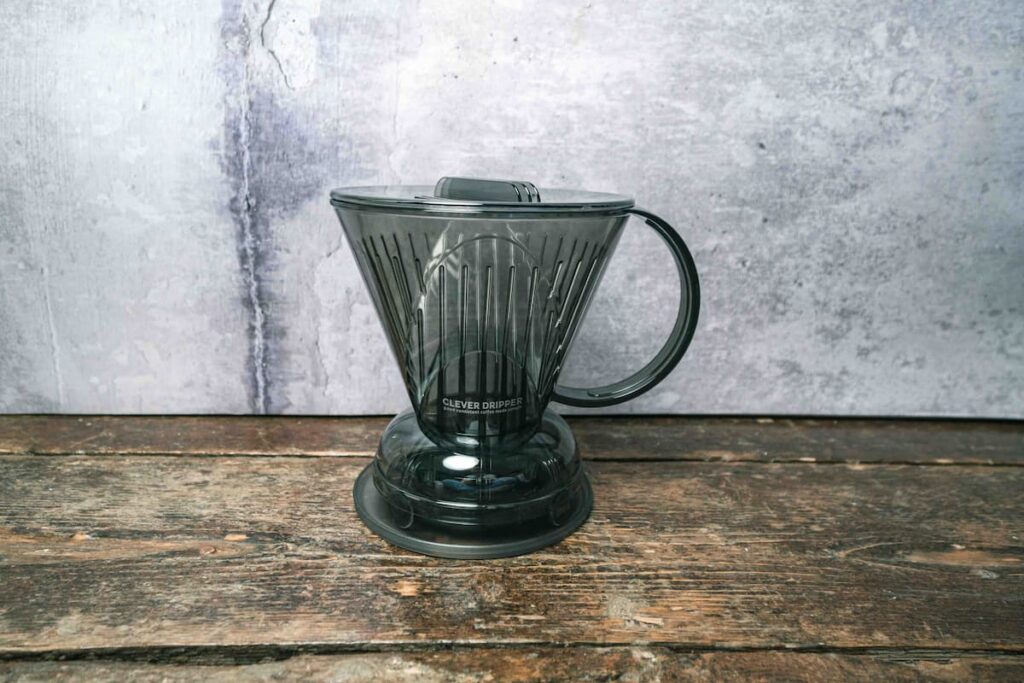
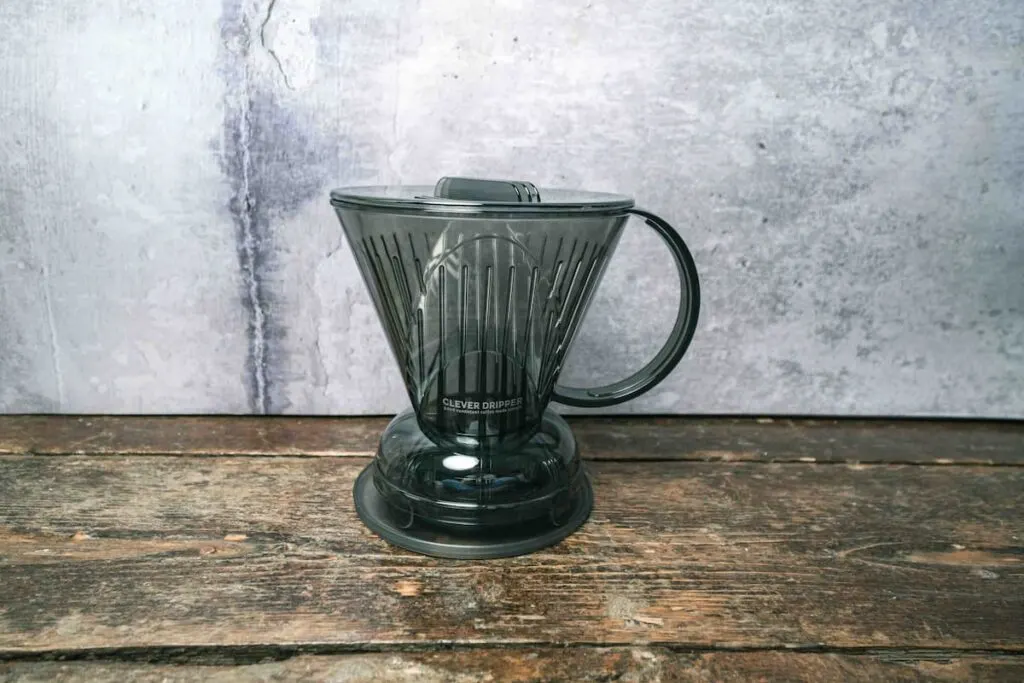
The Clever Dripper is a unique coffee extraction device that combines the best immersion brewing, drip, and pour-over techniques. It produces a clean, aromatic cup of coffee in a matter of two to three minutes with a minimum of intervention and effort.
Cone-shaped, the Japanese-manufactured coffee brewer is made of medical-grade, BPA-free plastic and comes with its own lid and stand. It comes in two sizes, the smaller producing an 11 oz (325ml) cup of coffee and the larger one 16 oz (475ml), which is handily the size of a standard travel mug.
How does the Clever Dripper work?
The Clever Dripper uses both immersion and pour-over technology which it controls via a special valve.
On the one hand, there are the immersion devices, such as the French Press, which function by keeping the hot water and coffee grounds in contact while the brewing process takes place. At the end of your chosen brewing time, the coffee gets filtered. While the coffee produced is rich and full-bodied, you can be left with a bit of sediment in your cup, which does put some coffee-lovers off.
On the other hand, pour-over coffee drippers, such as the popular V60, work differently and appeal to coffee purists. Extraction is controlled by pouring the water deliberately and carefully over the coffee grounds to saturate them. You can control the coffee you produce through flow rate, the volume of water poured, and the number of pours. The brewed coffee then drips or runs through the holes in the bottom, producing coffee of clarity and rich flavor. Detractors find the whole process a little intimidating and very complicated, with results that vary in quality.
The Clever Dripper successfully combines the best of both techniques through its three-stage process created using a special valve that controls water flow:
- Stage 1: Like a pour-over dripper, you pour the water over the grounds to saturate them.
- Stage 2: Instead of the water filtering through the saturated grounds, the Clever Dripper’s weight-controlled valve mechanism remains closed, allowing the coffee grounds to steep in the brew chamber, like in an immersion-style French press, suspending the process for as long as you choose.
- Stage 3: Once your coffee has brewed sufficiently, you place the device over a cup or carafe, which releases the draining valve, allowing your coffee to filter through in a process known as drawing down. Because the Clever Dripper uses a paper filter, you avoid the sludgy grounds that can characterize the immersion process.
What you need to use your Clever Dripper
- Your favorite coffee beans
- Grinder
- Water
- Digital kitchen scale
- Clever Dripper, with its lid and coaster
- Gooseneck kettle (although an ordinary kettle will also be fine)
- Cup or carafe to hold coffee
- Stirring stick or teaspoon
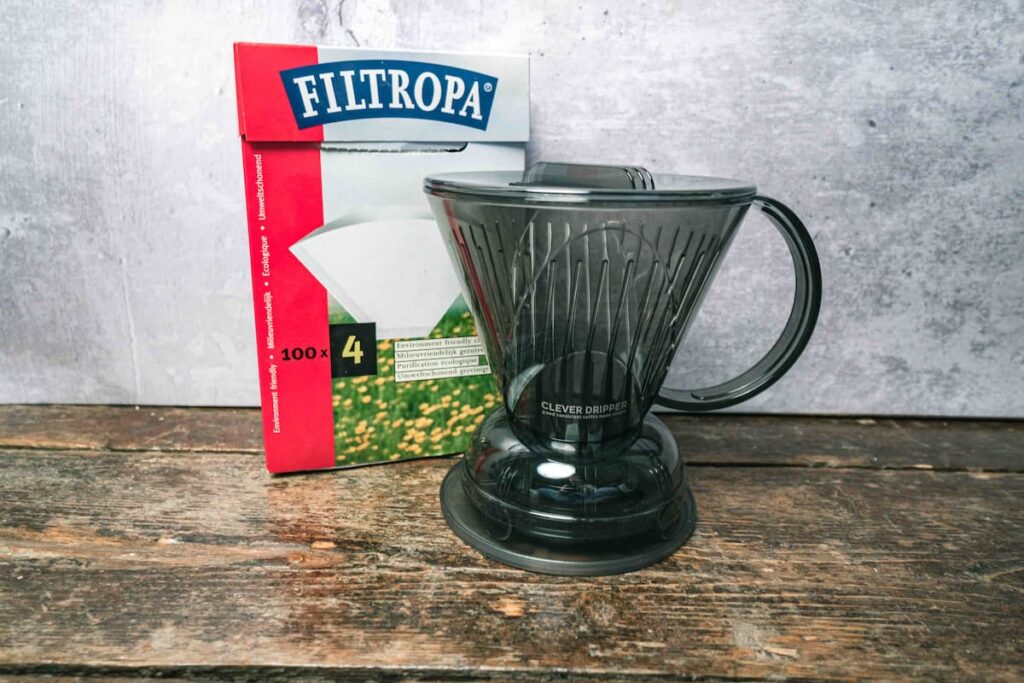
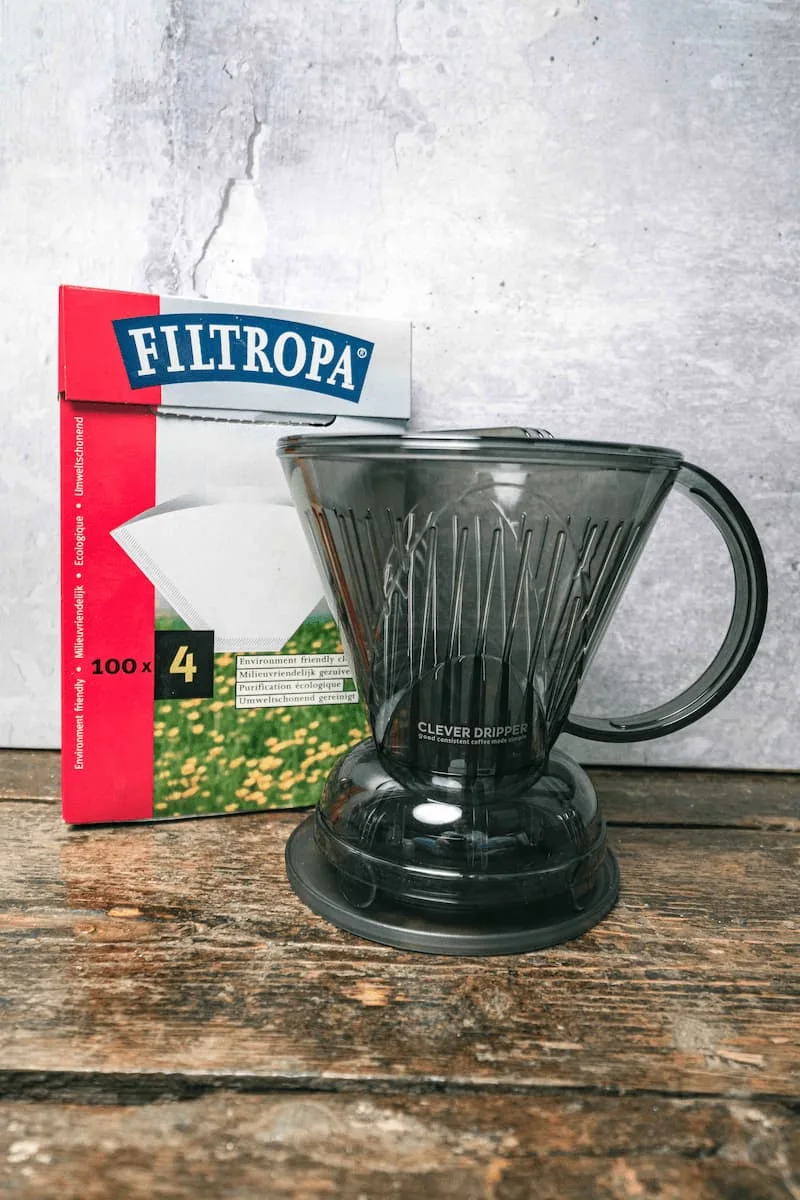
- Paper filter size #4
- Kitchen timer
A step-by-step guide to using your Clever Dripper
Using your Clever Dripper correctly, you can make a delicious home brew within two to three minutes, with the minimum of effort.
Step 1: Weigh your beans

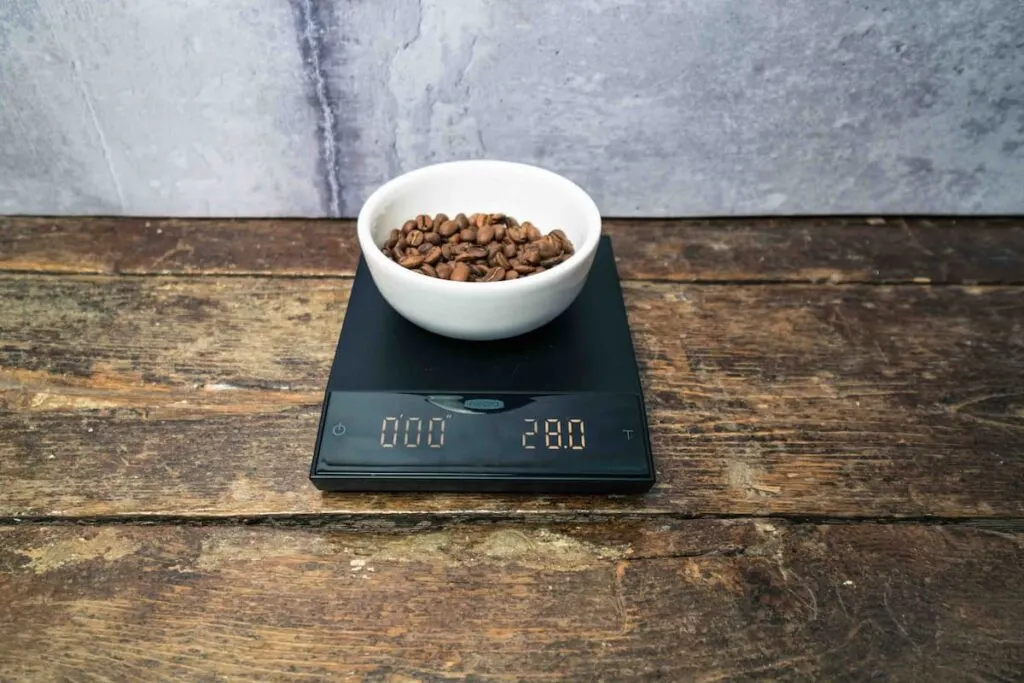
The Clever Dripper requires you to use a 1:15 or 1:16 ratio of coffee to water to get the best brew possible. This ratio translates to 0.7 ounces (21 grams) coffee to 12 ounces (336 grams) water for a single cup (0.4 ounces (12 grams) to 7 ounces (200 grams) water for a smaller cup or 0.8 ounces (24 grams) to 14 ounces (400 grams) for a larger cup).
Begin the process by weighing your beans. You can use any beans you prefer, but make sure they’re the best you can afford. Even if you use the Clever Dripper perfectly, it’ll show in the coffee if you don’t use decent beans.
Step 2: Grind your beans
Always use freshly ground beans to make coffee. A medium grind is good for the Clever Dripper, with the coffee slightly coarser than you would use for a traditional pour-over and slightly finer than you’d use for a French press. Think of the consistency of table salt or granulated sugar, and you’ll get it.
Step 3: Boil your water
You need to use water that’s just below boiling, so heat it to around 195 or 205⁰F (just over (90⁰C). Alternately, boil the water and let it stand for a minute.
Step 4: Prepare the Clever Dripper
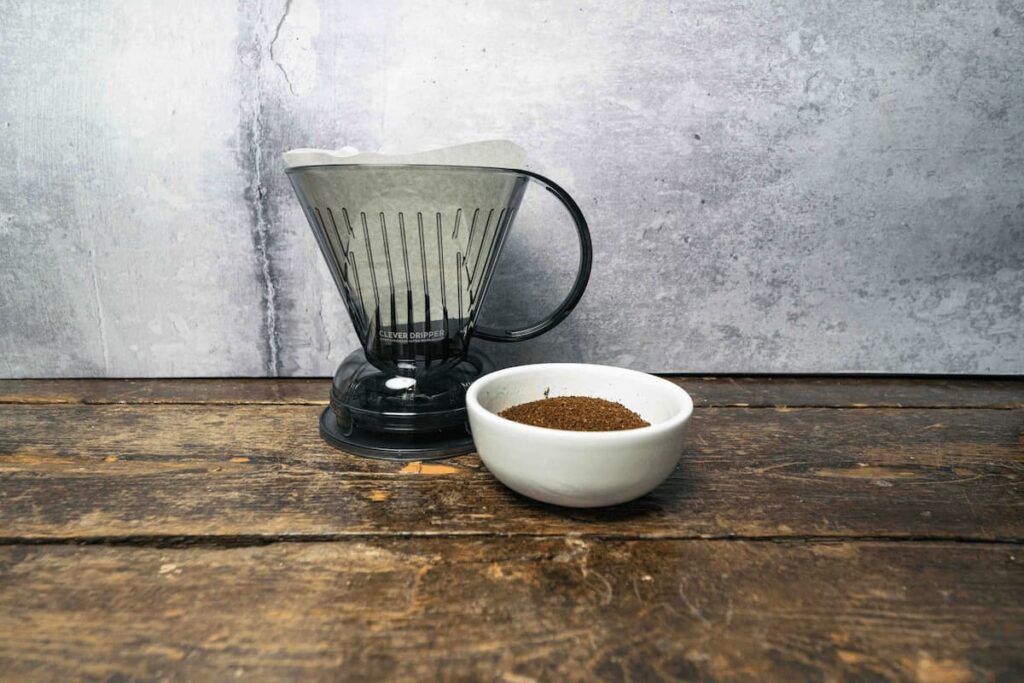

The Clever Dripper uses a standard-sized paper filter to catch the coffee sediment – it also makes the Dripper easy to clean. However, you need to prepare the filter to preheat the Dripper and rinse out any stale, papery flavor from your coffee. This quick rinse also improves the uniformity of the coffee extraction to produce a well-brewed drink.
- Take the paper filter and fold it along the side and bottom seams.
- Place the filter in the Dripper.
- Pour the hot water over the filter paper to rinse it thoroughly.
- Put the Dripper over a cup to drain out the rinse water. You definitely don’t want your tasty brew to be watered down with this discard.
Step 5: Add coffee and water
The rinsing process will have preheated the Dipper, so get onto this stage immediately. To get the water-coffee ratio precisely right, you need to add the coffee and water to the Dripper while it’s on a scale.
- Place the Clever Dripper on the scale, remembering to tare or ‘zero’ the scale, making sure it is set to grams.
- Add the freshly ground coffee.
- Give the Dipper a quick shake to level out the coffee and get rid of air pockets.
- Add the correct amount of water, observing the scale. (See discussion below on pouring and blooming.)
- Ensure that the coffee grounds are fully immersed.
- Stir the coffee gently three times. Enjoy the aroma of the coffee!
- Set a kitchen timer for one to two minutes (depending on your coffee strength).
- Set the Clever Dripper on its coaster/stand. Please do not put it on top of the carafe or mug, as this will activate the release valve.
- Cover the Clever Dripper with its lid to keep the coffee warm while it steeps.
Blooming the coffee
For pour-over coffee, there are particular methods of pouring and bloom periods required. The Clever Dripper doesn’t demand these, but for purists who want to go the extra mile for their unique beverage, you can do the following:
- Using your gooseneck kettle, pour enough water to saturate the grounds – around 50g will do for 21g of coffee. (The rule for blooming is double the amount of water to coffee.)
- Wait about 30 seconds to allow the coffee to bloom (release gases and prime coffee for brewing).
- Stir the coffee by stirring once forwards and once backward.
- Pour the rest of the water directly into the coffee in a continuous, circular motion, taking care to avoid pouring down the sides of the filter paper.
- Complete the pouring quickly and smoothly to allow the brewing process to start.
- The pouring and blooming process should take about a minute in total – you can set a timer.
Adding the water first
Some home baristas (like eight-ounce coffee) have experimented with adding water before the coffee. They argue that adding the coffee first can clog and choke the filter, leading to a longer brewing time and over-extraction – and a bitter-tasting drink. This method involves stirring the grounds in two different phases, using the following procedure:
- Place your Dripper on the scale and then add the water first, ensuring that it is boiling. Using boiling water will avoid loss of temperature during the next steps.
- Add the ground coffee, stirring to break up the clumps, and make sure it is immersed and saturated. This may take around 20 seconds.
- Cover the Dripper with the lid.
- Steep for about 50 seconds.
- Stir to break the crust.
- Place the Dripper on the cup and stir four more times to create a vortex – this increases extraction in the last phase.
- Replace the lid and allow your coffee to drain completely.
Step 6: Break up the crust

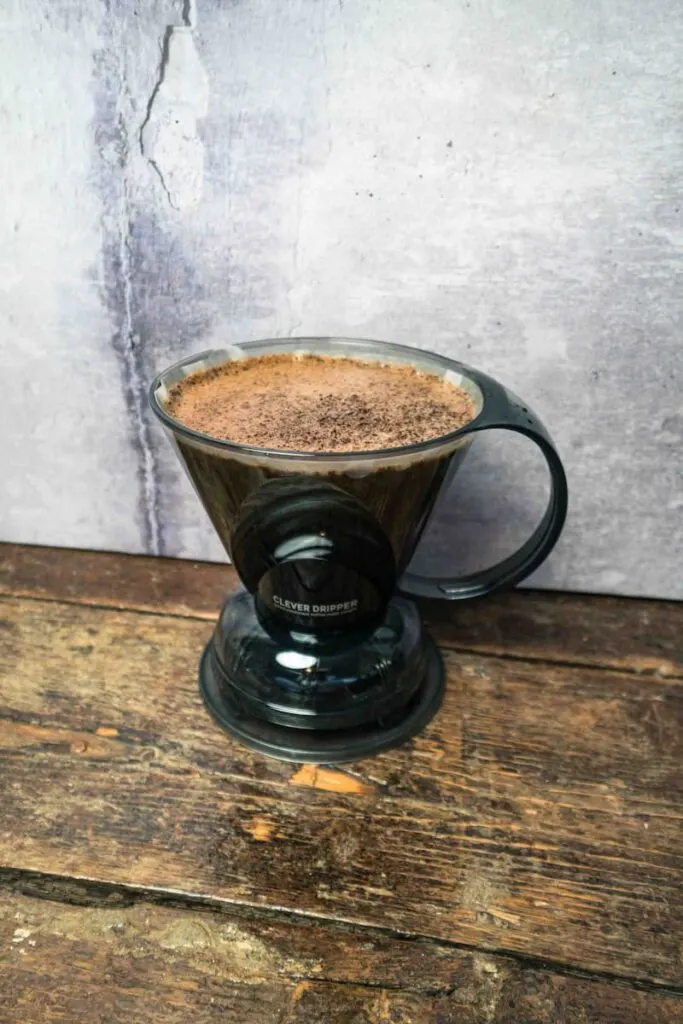
As the coffee brews, a ‘crust’ will begin to form and may stick to the sides of the Dripper. When your timer goes at the one or two-minute mark (depending on if you reset it), you will need to gently stir the coffee to break up this crust and ensure the grounds are immersed again to ensure full brewing potency. This action is not a vigorous stir but rather a gentle agitation to loosen and immerse the floating coffee and ensure even extraction.
Let the coffee continue to steep for another minute – or more, depending on your preference. You will need to experiment with the Clever Dripper to determine how long it takes to produce your perfect brew.
Step 7: Draw down the coffee

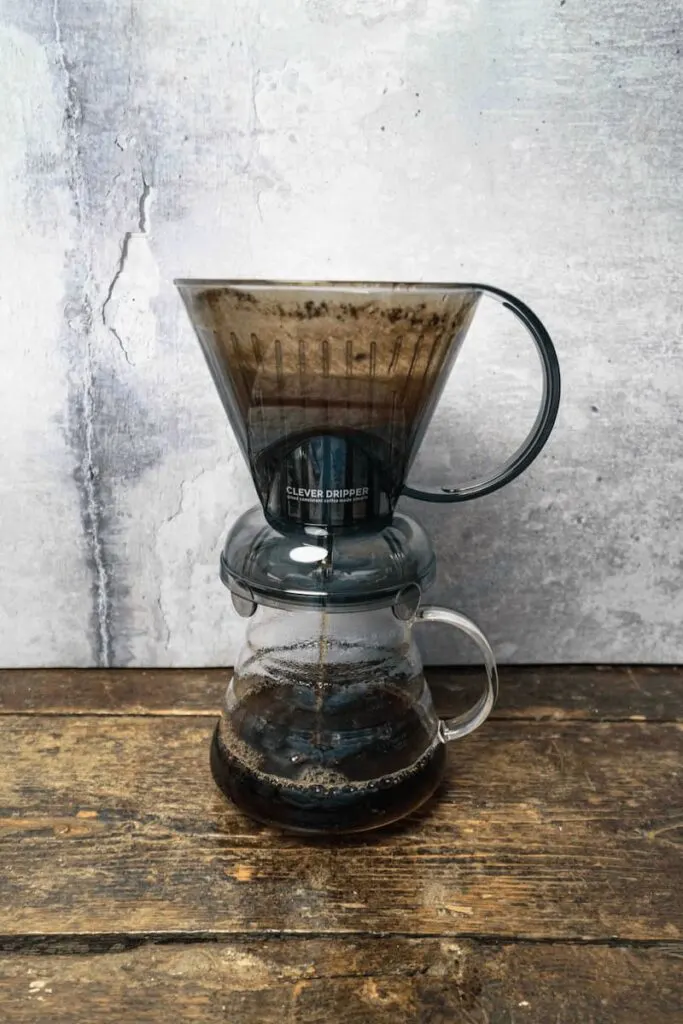
Your coffee will be ready to filter after about two and a half minutes to three and a half minutes from the beginning of the process. Pick up the Clever Dripper and place it over your mug or carafe for the automatic drawing-down process, which takes 30 to 45 seconds or up to a minute for the bigger Dripper.
Here’s where the Clever Dripper’s clever technology steps in: the cone-shaped device has tiny ‘feet’ which prevent the valve from opening if it is set on a flat surface. Once you place it over your cup, the shut-off valve releases. This means that it will filter all the coffee into a single mug, making sure you are using the right size receptacle to avoid overflow. However, the valve will keep closing if you lift it and move it to split the brew between smaller cups.
Step 8: Enjoy your coffee
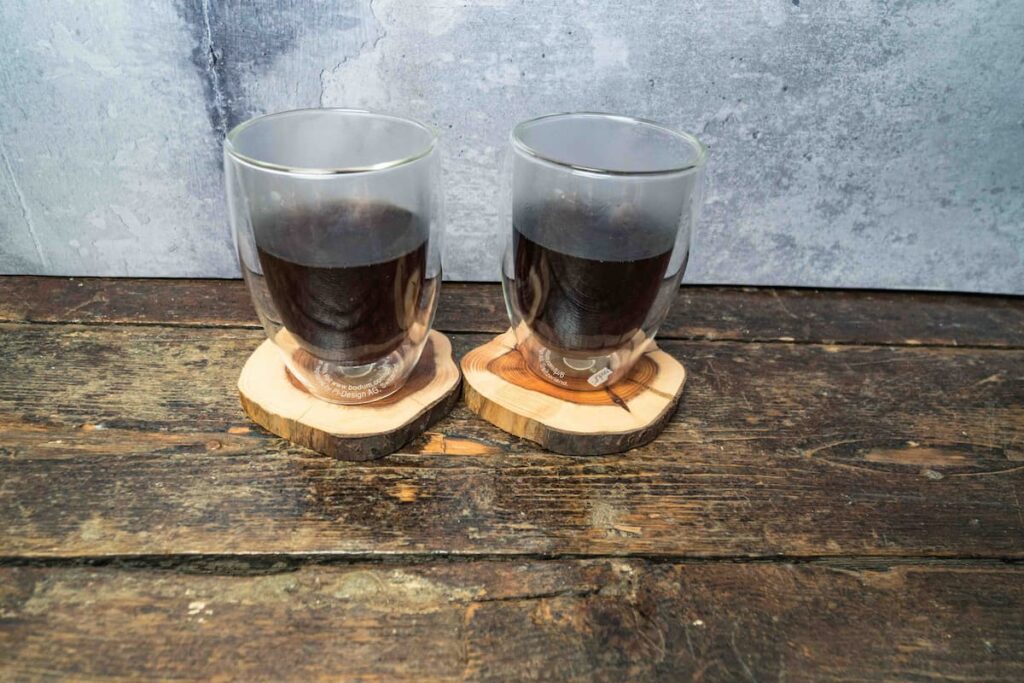

Within three minutes, you have a freshly brewed cup of coffee to enjoy, courtesy of the Clever Dripper.
You’ll find that the coffee is still pleasantly hot – the plastic cone of the Clever Dripper has good heat retention properties, so the temperature remains stable during steeping.
Clean up is also simple, as you discard the filter paper (they are an excellent addition to compost) and gently wash the Dripper cone – much more manageable than fumbling with the metal mesh of French press.
Clever Dripper FAQs
Can I brew more than one cup of coffee at a time?
No, the Clever Dripper is designed to produce a single cup of freshly brewed coffee.
How do I stop my draw down happening too quickly?
If you find the draw down going too quickly and your coffee turning out too weak, it means that your coffee grinds aren’t providing enough resistance, so your grind is too coarse. To slow your draw-down time, use a finer grind.
Why is my coffee taking too long to draw down?
Too long a draw-down time means that your coffee is providing too much resistance, so you need to use a coarser grind to avoid over-extraction.
Why isn’t my coffee the right strength? It’s always too weak or too strong.
There are two ways of adjusting the strength of your coffee made in the Clever Dripper.
- Adjust the coffee-water ratio: If your coffee is too weak, add a gram or two of coffee. If your coffee is too strong, subtract a gram or two of coffee, then increase the water.
- Pay attention to steeping time: You can allow the coffee to steep for longer or shorter to influence the flavor of your brew.
How can I prevent my coffee from tasting acidic?
An acid flavor usually results from too fast a draw down; hence your grind is too coarse. Use a finer grind.
What can I do to avoid bitter coffee?
Bitter coffee is caused by over-extraction, which means that the draw down is too slow because of too fine a grind. Use a coarser grind next time.
Can I use a reusable filter?
Reusable filters made for filter coffee machines don’t fit the Clever Dripper properly, so they’re not recommended.
Can I use the Clever Dripper to make iced coffee?
The Clever Dripper can make iced coffee if you fill the mug or carafe with ice and then allow the Dripper to draw down over the ice.
Is the Bonavita the same as the Clever Dripper?
Bonavita produces a very similar product to the Clever Dripper, which also includes a valve. However, there are a couple of differences:
- The Bonavita valve is manual, so you have to switch it open or closed yourself to steep or drain the coffee.
- The Bonavita is made of porcelain, not plastic, which is an advantage in heat retention.
Conclusion
If you enjoy the purity of a pour-over technique but savor the warm flavor of a filter coffee, then the Clever Dripper is a good choice. Combining the pour-over and immersion techniques, the Clever Dripper offers a quick route to a great beverage – the best of both worlds. Ease of use also makes the Clever Dripper an excellent coffee extraction device for beginners.

How To Use Clever Dripper
If you're a fan of manual coffee-making gadgetry, then you've got to try the Clever Dripper. Aimed at coffee enthusiasts who enjoy a hands-on coffee-making experience, this Japanese innovation combines pour-over and immersion technology. It comes in two sizes, the smaller producing an 11 oz (325ml) cup of coffee and the larger one 16 oz (475ml), which is handily the size of a standard travel mug.
Ingredients
Small Cup
- 0.4 ounces (12 grams) Coffee
- 7 ounces (200 grams) Water
Large Cup
- 0.8 ounces (24 grams) of coffee
- 14 ounces (400 grams) Water
Clever Dripper Equipment
- Clever Dripper, with its lid and coaster
- Paper filter size #4
- Grinder
- Digital kitchen scale
- Gooseneck kettle (although an ordinary kettle will also be fine)
- Stirring stick or teaspoon
- Cup or carafe to hold coffee
- Kitchen timer
Instructions
- Heat water between 195 or 205⁰F (just over (90⁰C).
- Weigh and grind your coffee as per the cup size.
- Position the filter in the Clever Dripper and moisten.
- Add the coffee and water.
- Allow the coffee to steep.
- Stir to break up the crust.
- Allow the coffee to drawdown.
- Enjoy your freshly brewed coffee.